 |
We can say that widgets are the building blocks of the flutter. From a text to a whole complex grid all are widgets. They describe what a current view should look like given the current state and context. Also, they are immutable, so they cannot be changed and any property they contain is final so it keeps the approach easy and safe when a widget tree is changed or initialized.
Widgets are not just the visible components of the flutter. Widgets can also be used in user interaction, defining UI, etc. They are a lot more than that. Paddings, Margins, GestureDetectors all are counted in widgets.
Widgets can also be interpreted as a blueprint for our application.
Now we’ll understand how the widget tree works to define our UI.
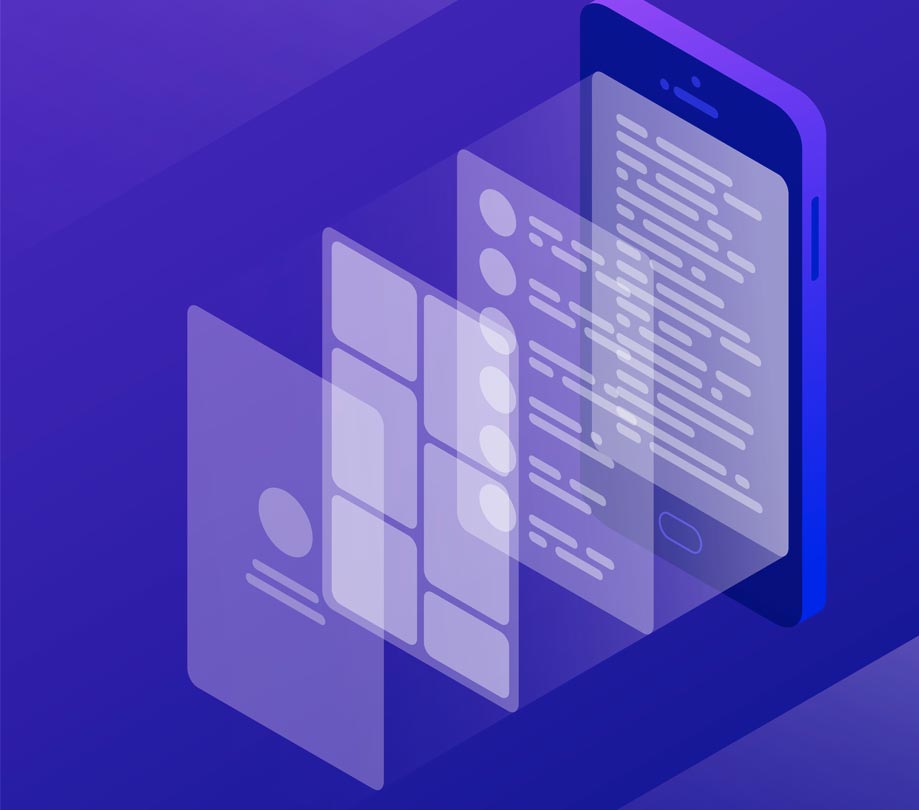
In a widget tree, widgets are arranged in a parent-child relation. We can define a root widget and child of that root widget and child of the current widget and so on. By this hierarchy, a whole widget tree is formed.
 |
Here as we can see, the main root widget is MaterialApp, which contains another widget like Stack, AppBar, and so on. According to the hierarchy, the topmost widget comes at the last of the widget tree.
Types of Widgets:
There are two subclasses from which you author your app which is StatelessWidget and StatefulWidget.
1. Stateless widgets:
Basically, they are the static part of our application or we can say in technical terms that no state is managed by them. A stateless widget is created or initialized by the build() method. They cannot change themselves with the change in state like, an Icon can be created or initialized but once it’s created, it cannot respond to the state change. To change the UI or to make it more responsive we have to opt for the stateful widget.
 |
import 'package:flutter/material.dart';
void main() {
runApp(MyApp());
}
class MyApp extends StatelessWidget{
@override
Widget build(BuildContext context) {
return MaterialApp(
home: Scaffold(
appBar: AppBar(
title: Text("Widget Example"),
),
body: Stack(
children: <Widget>[
Center(
child: Container(
height: 150,
width: 250,
decoration: BoxDecoration(
borderRadius: BorderRadius.all(Radius.circular(11)),
color: Colors.blue,
),
),
),
Center(
child: RawMaterialButton(
onPressed: (){},
child: Container(
width:100,
height: 50,
decoration: BoxDecoration(
borderRadius: BorderRadius.all(Radius.circular(11)),
color: Colors.black,
),
child: Center(child: Text("Button", style: TextStyle(color: Colors.white))),
),
),
),
],
),
),
);
}
}
2. Stateful Widget:
Stateful widgets are dynamic or we can say they respond to the state change. They are more preferred when we want our app to become more responsive and interactive. We can initialize our app to a particular state by initState() method and change our app’s state by setState() method.

import 'dart:ui';
import 'package:flutter/material.dart';
void main() {
runApp(MyApp());
}
class MyApp extends StatefulWidget{
@override
State<StatefulWidget> createState() {
// TODO: implement createState
return _MyApp();
}
}
class _MyApp extends State<MyApp>{
bool onTap;
void initState(){
super.initState();
onTap = false;
}
@override
Widget build(BuildContext context) {
return MaterialApp(
home: Scaffold(
appBar: AppBar(
title: Text("Widget Example"),
),
body: Stack(
children: <Widget>[
Center(
child: Container(
height: 150,
width: 250,
decoration: BoxDecoration(
borderRadius: BorderRadius.all(Radius.circular(11)),
color: Colors.blue,
),
),
),
Center(
child: RawMaterialButton(
onPressed: (){},
child: Container(
width:100,
height: 50,
decoration: BoxDecoration(
borderRadius: BorderRadius.all(Radius.circular(11)),
color: Colors.black,
),
child: Center(child: Text("Button", style: TextStyle(color: Colors.white))),
),
),
),
onTap? ClipRect(
child: BackdropFilter(
filter: ImageFilter.blur(sigmaX: 10, sigmaY: 10),
child: Container(
decoration: BoxDecoration(color: Colors.white.withOpacity(0.5)),
),
),
): SizedBox.shrink(),
],
),
),
);
}
}
Comments
Post a Comment